
Unoptimized images are the single biggest cause of slow websites. In a world where Google uses page speed as a direct ranking factor, uploading a 4MB photo from your camera phone directly to your website's hero section is equivalent to sabotaging your own SEO. It costs you rankings, visitors, and conversions every single day.
Why Google Cares About Your Images: Core Web Vitals
In 2021, Google introduced Core Web Vitals (CWV) as an official ranking signal. These are three user-experience metrics that Google measures on every page:
- LCP (Largest Contentful Paint): How long until the largest element (usually a hero image) is fully visible. Target: under 2.5 seconds.
- FID / INP (Interaction to Next Paint): How responsive the page is to user input. Large images can block the main thread.
- CLS (Cumulative Layout Shift): How much the page content jumps around while loading. Images without defined dimensions cause CLS.
If your LCP score fails due to a massive uncompressed hero image, Google will directly penalize your search ranking. Image optimization is therefore not optional — it is a fundamental SEO requirement.
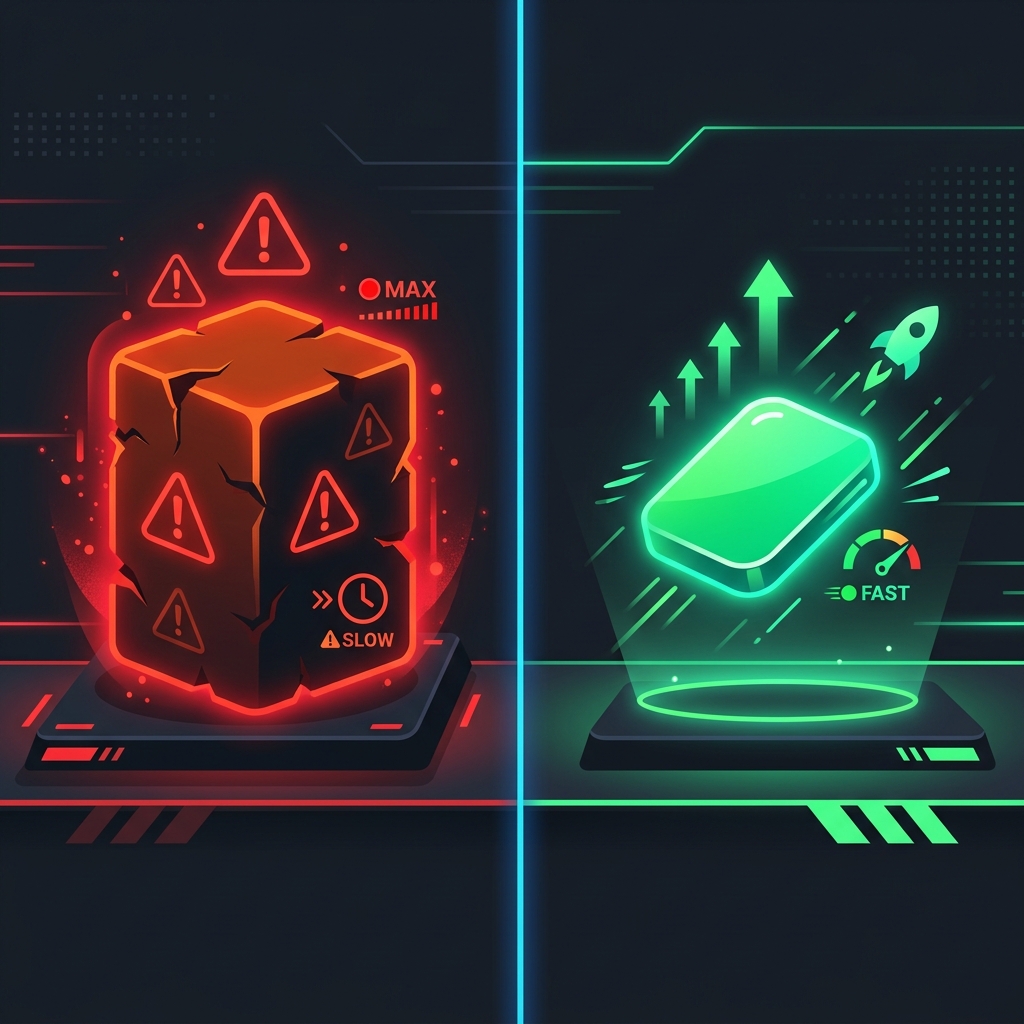
Left: An unoptimized 5MB image that destroys page speed. Right: The same image compressed to 80KB with no visible quality loss.
Lossy vs. Lossless Compression: Which Should You Use?
| Type | How It Works | File Size Reduction | Best For |
|---|---|---|---|
| Lossless | Removes hidden metadata only. Zero pixel data loss. | 5–15% | Logos, icons, screenshots requiring exact colors |
| Lossy | Discards imperceptible pixel data humans can't detect. | 60–90% | Photos, hero images, blog thumbnails |
Choosing the Right Image Format in 2026
| Format | Compression | Transparency | Best For |
|---|---|---|---|
| WebP ⭐ Recommended | Excellent (30% smaller than JPEG) | ✅ Yes | All web images — the modern standard |
| JPEG / JPG | Good | ❌ No | Photographs without transparent backgrounds |
| PNG | Moderate (larger files) | ✅ Yes | Logos and graphics requiring transparency |
| AVIF | Outstanding (50% smaller than JPEG) | ✅ Yes | Future standard — still limited browser support |
🔒 Compress Images Without Uploading Them
Most online compressors upload your private images to remote servers. Ours doesn't. Our Free Image Compressor uses your browser's HTML5 Canvas API to shrink images entirely locally. Your files never leave your device.
Compress Images Free & Securely →Step-by-Step: How to Compress an Image
Upload Your File Locally
Open the Image Compressor tool and drag any JPG, PNG, or WebP file from your desktop directly into the upload box. Or click the box to browse your computer. The file is immediately processed — entirely within your browser. No internet connection needed for the compression itself.
See Your Instant Savings
The tool immediately displays your original file size vs. the new compressed size, along with the percentage of data saved. A typical 4MB iPhone photo compresses to under 200KB at 80% quality.
Find the Perfect Balance
Drag the quality slider (0–100%). Watch both the live preview image and the file size update in real-time. The sweet spot for most web images is between 75% and 85%. Lower it until you begin to see pixelation, then bring it back up slightly.
Save Your Optimized Image
Click "Download Compressed Image". Because everything was processed locally, the download is instantaneous. Upload the optimized file to your website instead of the original, and enjoy a dramatically faster page speed score.
Frequently Asked Questions
What is the ideal image size for a website hero section?
Your hero/banner image should be no wider than 1920px and under 200KB in file size. Crop to the essential focal point, export at 80% JPEG quality or as WebP, and always define explicit width and height attributes in your HTML <img> tag to prevent CLS (layout shift).
Is there any quality difference after lossy compression?
At 75–85% quality, the visual difference is imperceptible to human eyes in a real browser window. The compression algorithm specifically targets pixel data that the human visual system cannot detect. The difference only becomes visible at extreme compression levels below 50%.
Is the client-side compressor safe for sensitive business images?
Yes — completely. Because the tool uses the HTML5 Canvas API running inside your local browser tab, zero data is transmitted to any external server. Your images never leave your computer. This makes it the most secure online image compressor available.
Should I also use lazy loading for images?
Yes, absolutely. Add loading="lazy" to all <img> tags that are below the fold (not visible in the initial viewport). This tells the browser to defer loading those images until the user scrolls near them, dramatically improving initial page load time and LCP score.